Sample Essential website. Like this design?
24/7 emergency No power, a burning smell, a breaker that won't reset? Call (408) 555-0147 to check availability in Sunnyvale.
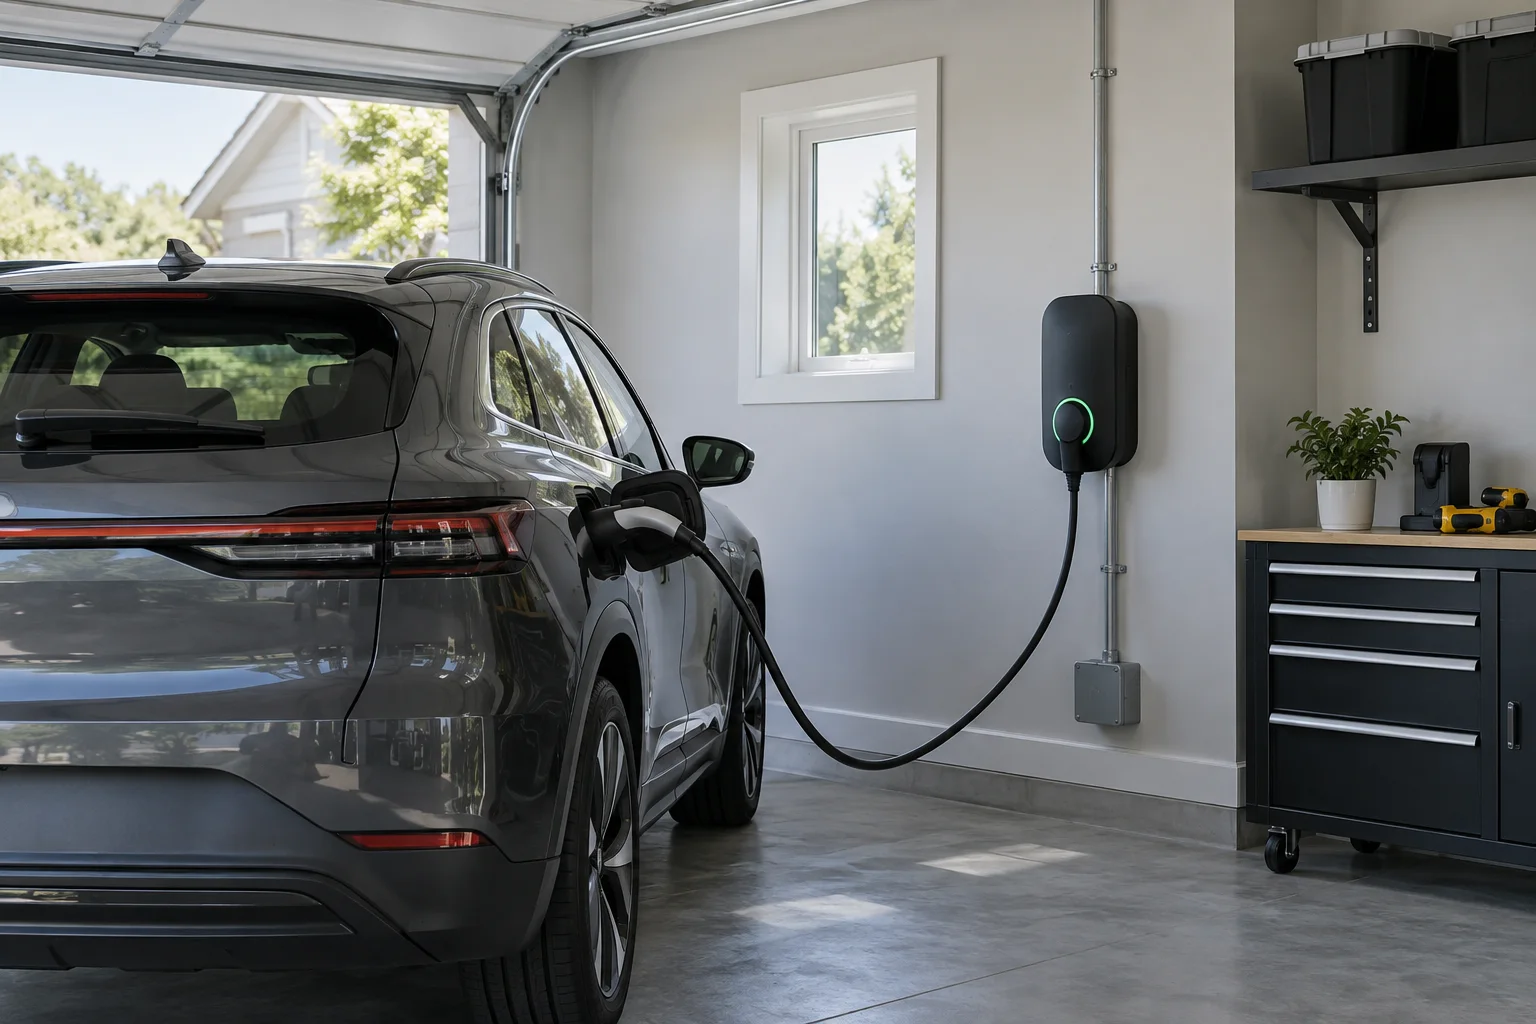
A Level 2 EV charger mounted on a clean white garage wall, conduit running up to the ceiling, cable plugged into a gray SUV.

Projects

Five jobs, every stage photographed.

We put a camera on a tripod and leave it there. Each project below shows the finished work large and the same wall at eight points from first visit to final inspection. Hover a photo for color, or see each finished job in full color in the gallery.

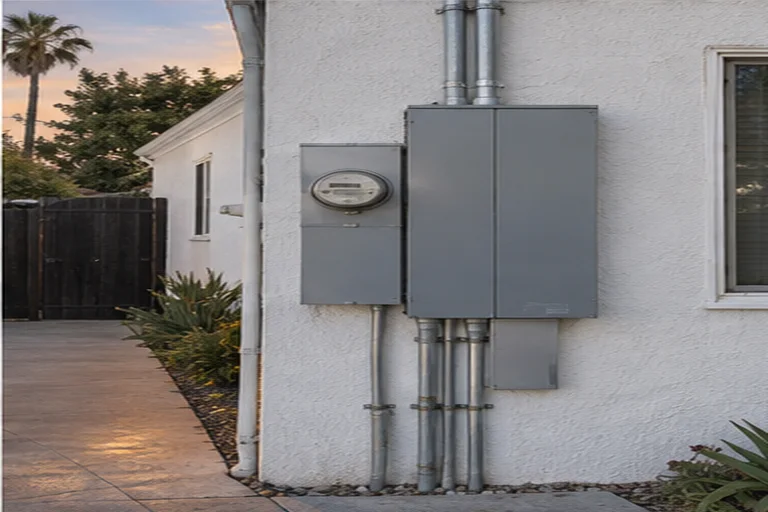
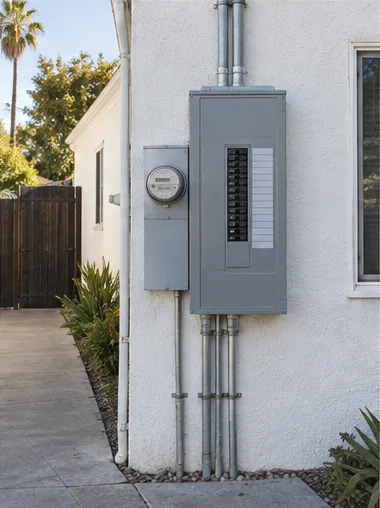
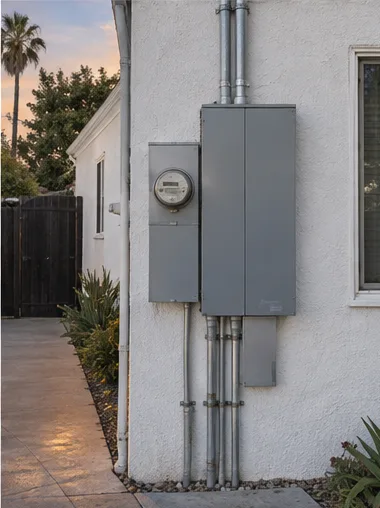
  1. The finished 200 A panel and meter on a white stucco wall beside the driveway at dusk.

    Cherry Chase · Sunnyvale

    100 A to 200 A service change

    A 1958 ranch with a full Zinsco panel and a heat pump on order. PG&E pulled the meter at 8 am; the new 200 A panel was energized by 2:30 pm and the city final passed that Thursday.

    On site
    1 day
    Power off
    6.5 hours
    Inspection
    passed first visit

    Same wall, eight stages

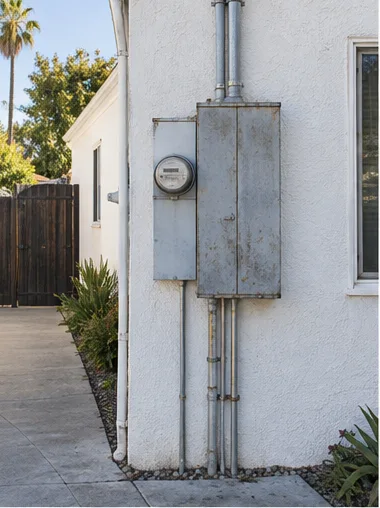
    1. Stage 1: the original gray 100 A panel and meter on a white stucco wall beside the driveway.01Existing 100 A panel
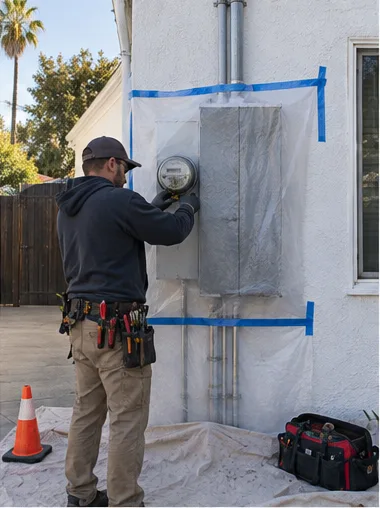
    2. Stage 2: the electrician tapes plastic sheeting around the panel and lays a drop cloth below it.02Protected and planned
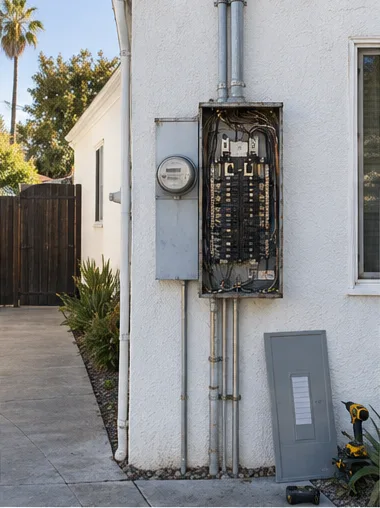
    3. Stage 3: the panel cover is off, showing the old breakers and wiring.03Access opened
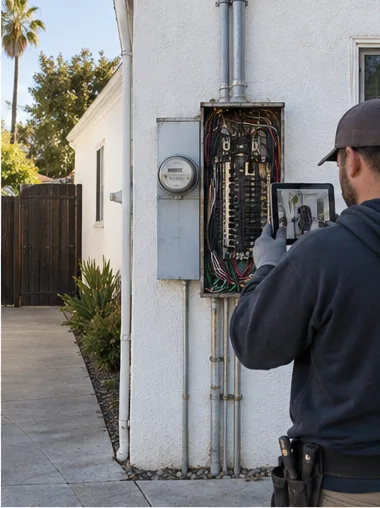
    4. Stage 4: the electrician photographs the open panel with a tablet to record each circuit.04Circuits mapped
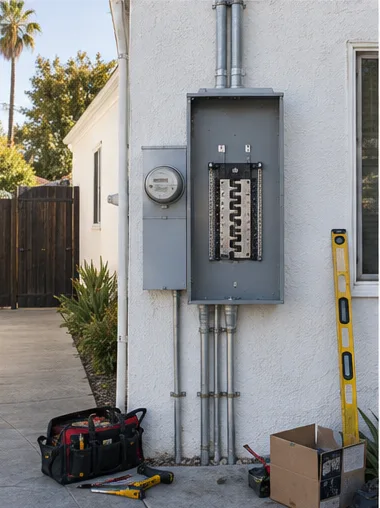
    5. Stage 5: a new, larger panel enclosure is mounted on the wall, breakers not yet landed.05New 200 A can set
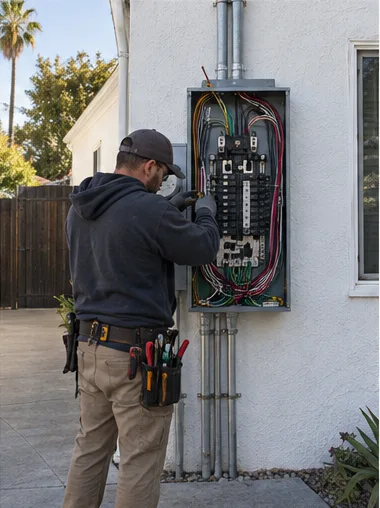
    6. Stage 6: the electrician lands each circuit on a new breaker inside the open 200 A panel.06Breakers landed
    7. Stage 7: the new panel closed, every breaker labeled, conduit tidy.07Tested and labeled
    8. Stage 8: the finished 200 A panel and meter on the wall as the evening light comes in.08Finished at dusk
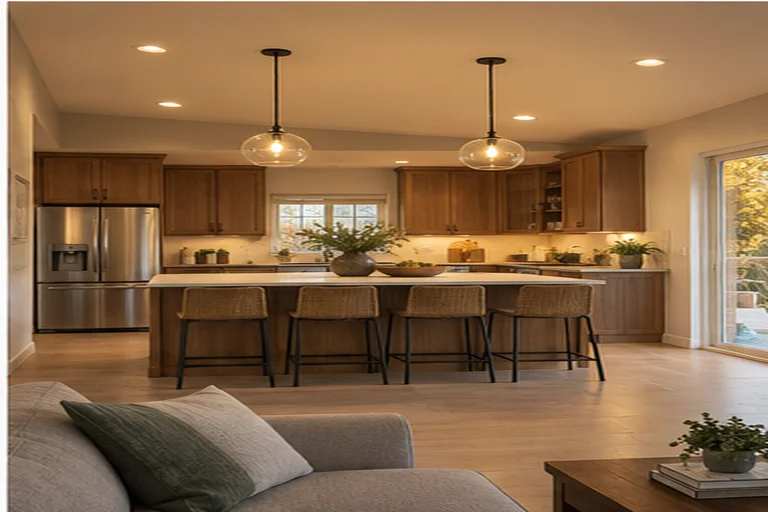
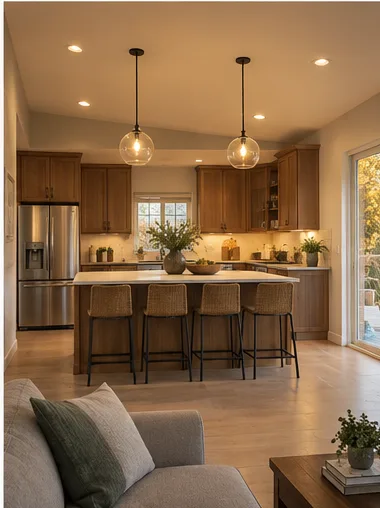
  2. The finished kitchen at dusk: two glass pendants over the island, warm under-cabinet light, recessed cans in the ceiling.

    Birdland · Sunnyvale

    Kitchen lighting, three layers

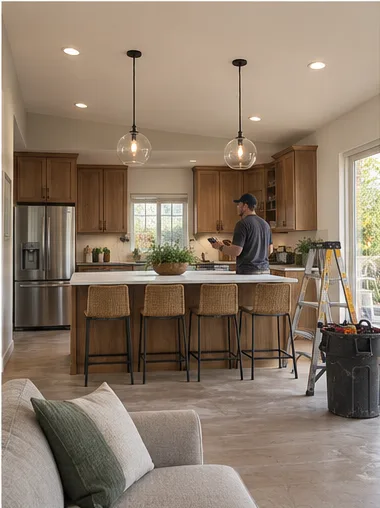
    Two flush domes replaced with six recessed cans on a plan, two pendants over the island on their own dimmer, and under-cabinet strips with the driver hidden above the fridge. Attic access meant one patch, not six.

    On site
    2 days
    New circuits
    2
    Color temperature
    2700 K

    Same wall, eight stages

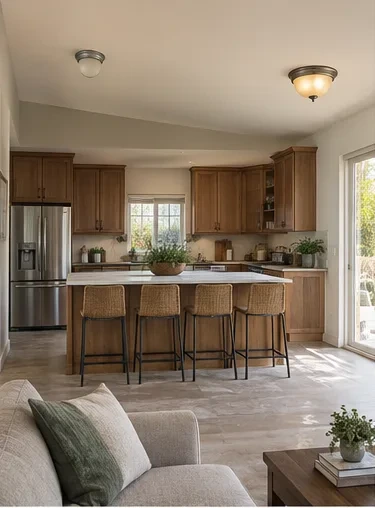
    1. Stage 1: a kitchen lit by two old flush ceiling domes.01Two flush domes
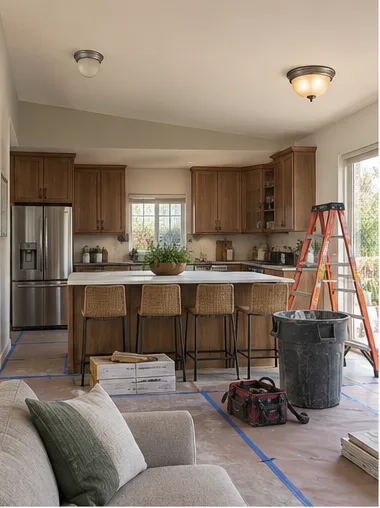
    2. Stage 2: the kitchen floor covered with protective board and taped seams.02Floors covered
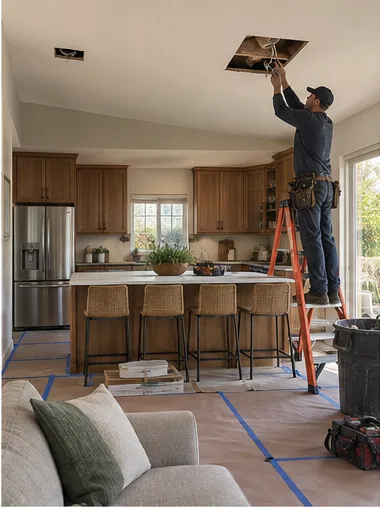
    3. Stage 3: an electrician on a ladder cutting the first recessed-light opening.03Ceiling opened
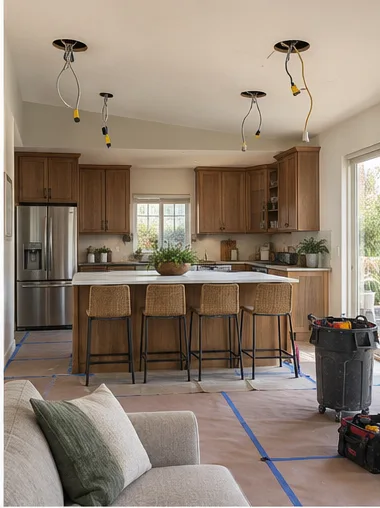
    4. Stage 4: new cables hang from four openings in the ceiling.04Cables pulled
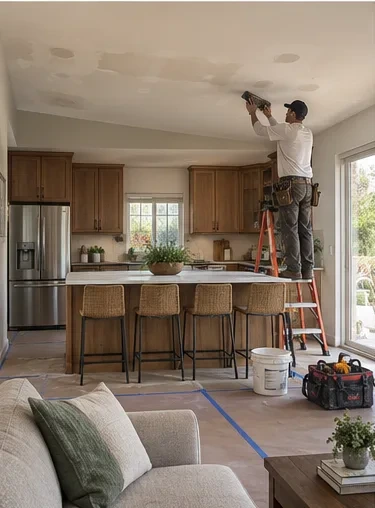
    5. Stage 5: the ceiling patched and sanded where the old fixtures were.05Patched
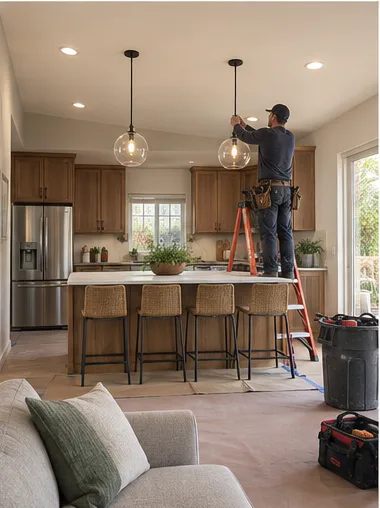
    6. Stage 6: the electrician hangs the first glass pendant over the island.06Pendants hung
    7. Stage 7: the electrician sets the dimmer while the pendants glow.07Dimmers set
    8. Stage 8: the finished kitchen at dusk, pendants, recessed cans and under-cabinet light on.08Layered light
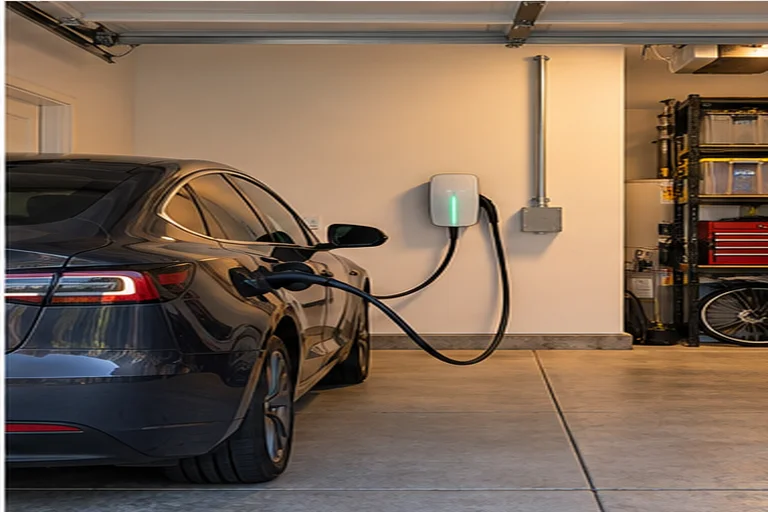
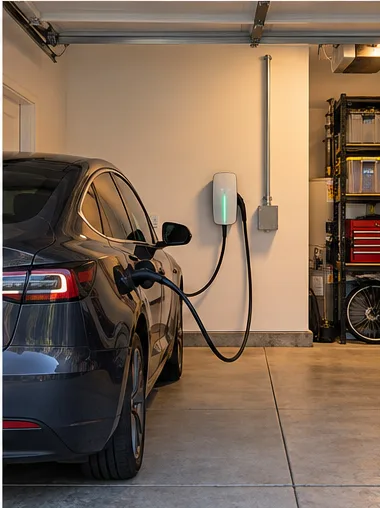
  3. The finished wall connector with a green status light, conduit running up to the ceiling, its cable plugged into a dark sedan.

    Ponderosa · Sunnyvale

    Level 2 charger, 48 A

    A Tesla Wall Connector on a 60 A circuit. The load calculation showed the existing 200 A panel had room, so no upgrade. Conduit run from the panel through the garage ceiling, charger set at the height of the car's port.

    On site
    half a day
    Circuit
    60 A, 240 V
    Permit
    finalled same week

    Same wall, eight stages

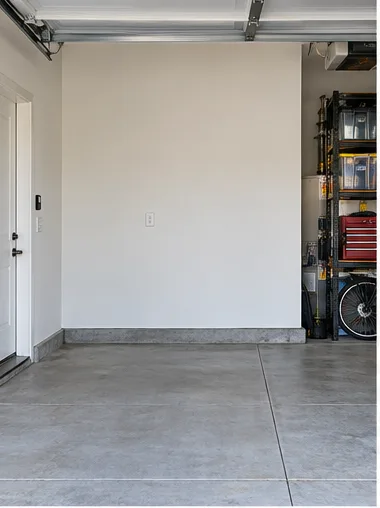
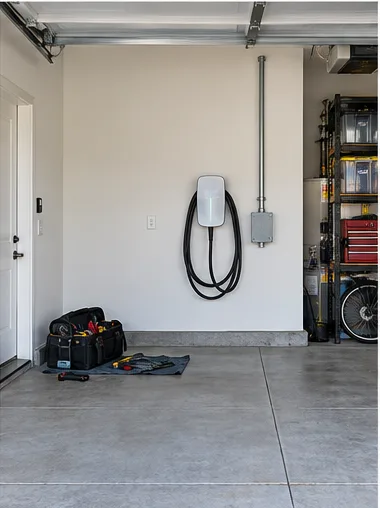
    1. Stage 1: an empty garage wall with one duplex outlet.01Bare garage wall
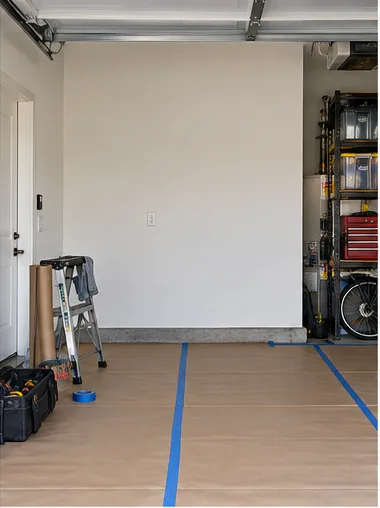
    2. Stage 2: brown paper taped over the garage floor, a step ladder and tool bags in place.02Floor protected
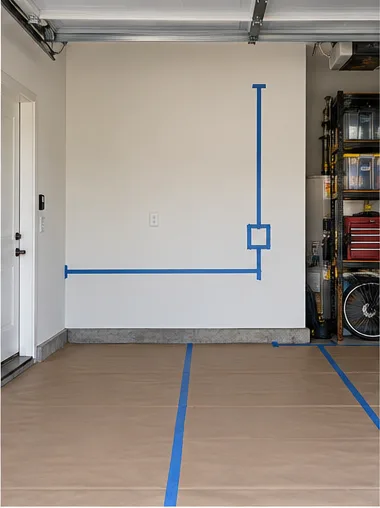
    3. Stage 3: blue tape marks the conduit route and charger height on the wall.03Run marked
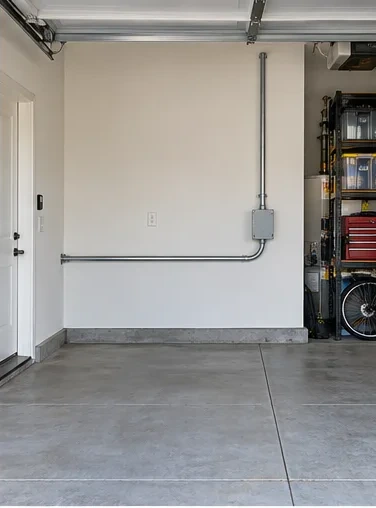
    4. Stage 4: EMT conduit runs from the ceiling down to a junction box at charger height.04Conduit set
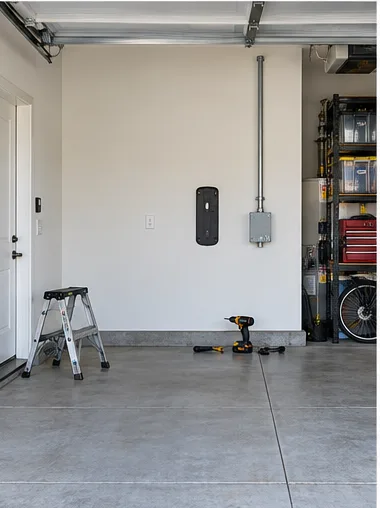
    5. Stage 5: the charger's wall bracket mounted beside the junction box, a drill on the floor below.05Bracket mounted
    6. Stage 6: the charging cable coiled on its hook, conduit finished.06Cable managed
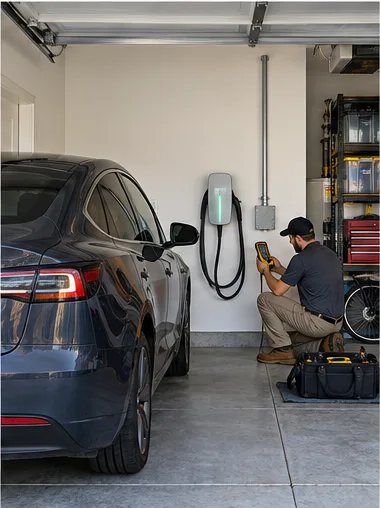
    7. Stage 7: the electrician tests the new circuit with a meter, the car parked beside the charger.07Circuit tested
    8. Stage 8: the finished charger on a clean garage wall, cable plugged into a dark gray car.08Charging
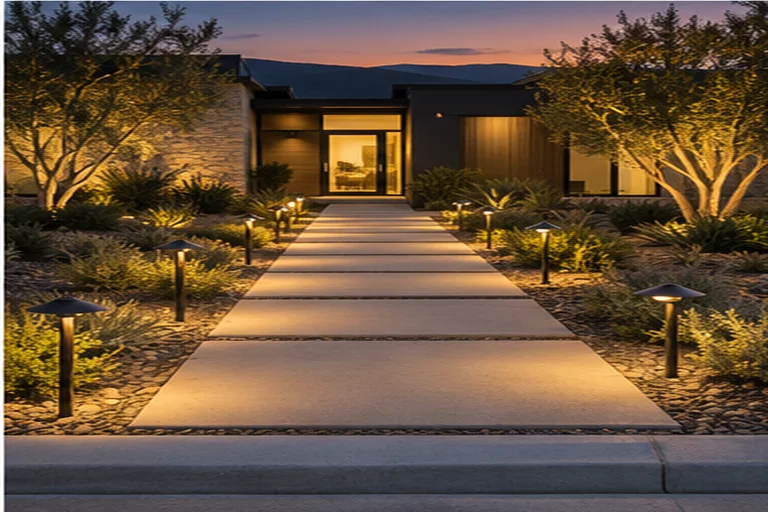
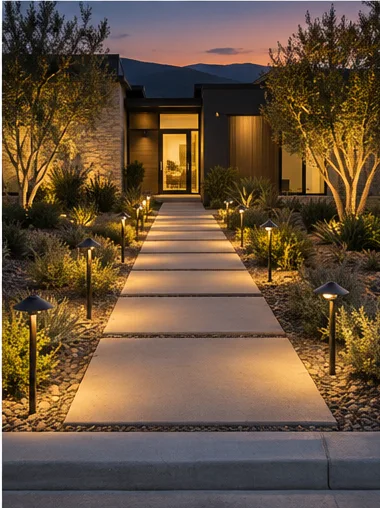
  4. The finished concrete front walk at dusk, lined with low mushroom path lights, an olive tree uplit on each side, leading to the lit entry.

    Los Altos

    Front walk, low-voltage lighting

    Nine mushroom path lights along the walk and an uplight on each of the two olive trees, run from a 300 W transformer on an astronomical timer. Cable in a shallow trench along the walk; the plantings didn't notice.

    On site
    1 day
    Fixtures
    11, brass
    Timer
    dusk to 11 pm

    Same wall, eight stages

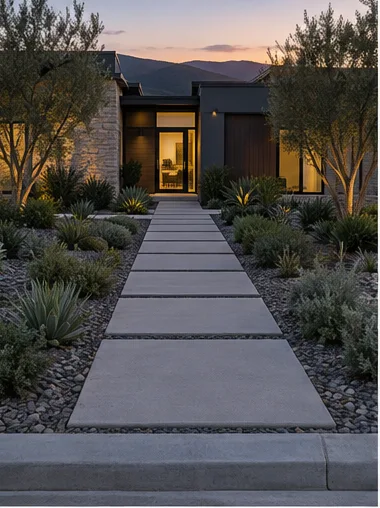
    1. Stage 1: a concrete front walk at dusk with no lighting.01Dark front walk
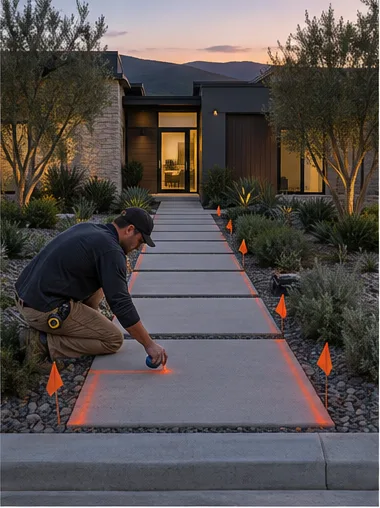
    2. Stage 2: the electrician marks fixture positions with orange flags along the walk.02Route marked
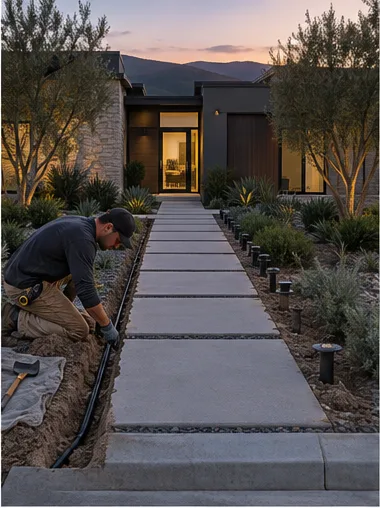
    3. Stage 3: a narrow trench along the walk for low-voltage cable.03Trench cut
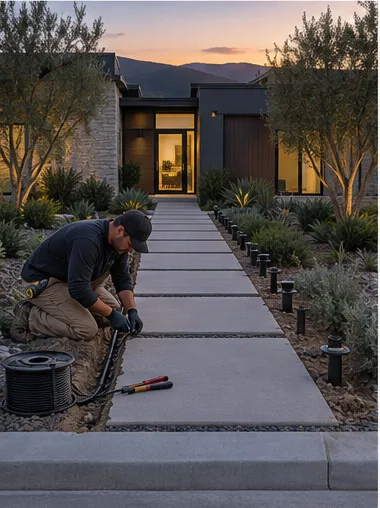
    4. Stage 4: the electrician lays cable in the trench beside the first fixture base.04Cable laid
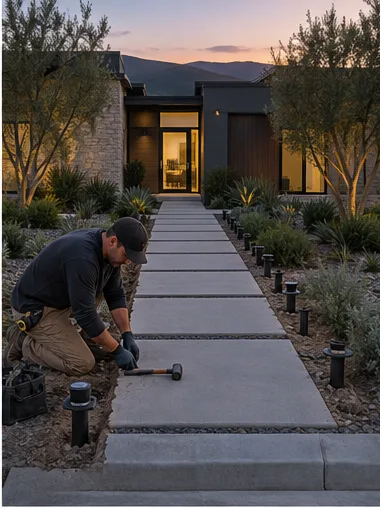
    5. Stage 5: the electrician strips and connects the low-voltage cable at the street end of the walk, a spool of wire beside him.05Cable connected
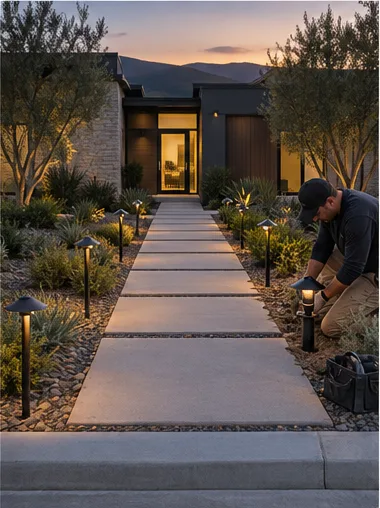
    6. Stage 6: the electrician sets the last path light along the walk.06Fixtures set
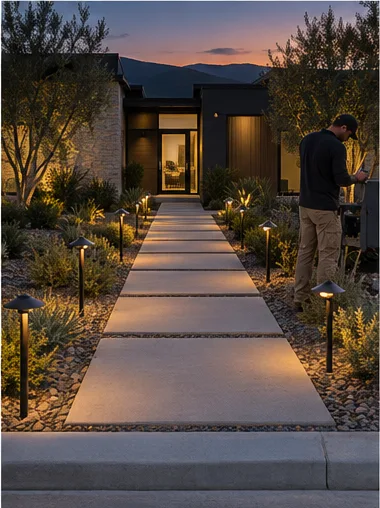
    7. Stage 7: the path lights come on while the electrician checks the transformer.07First light
    8. Stage 8: the finished front walk lit by a row of low path lights at dusk.08Lit walk
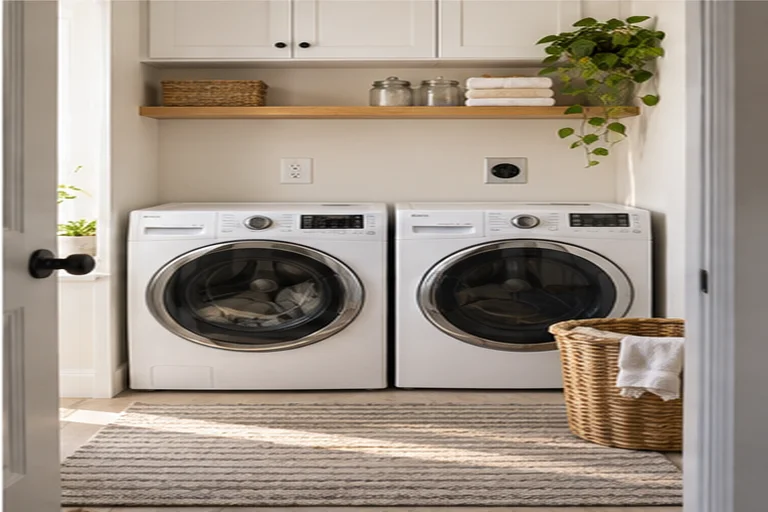
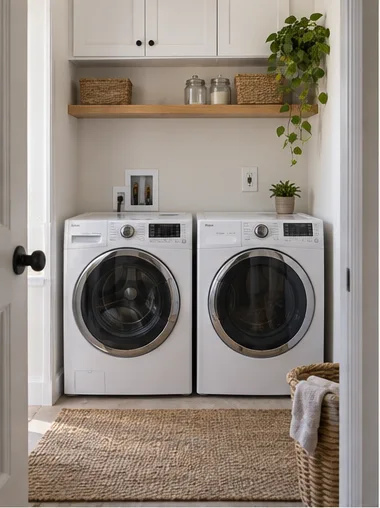
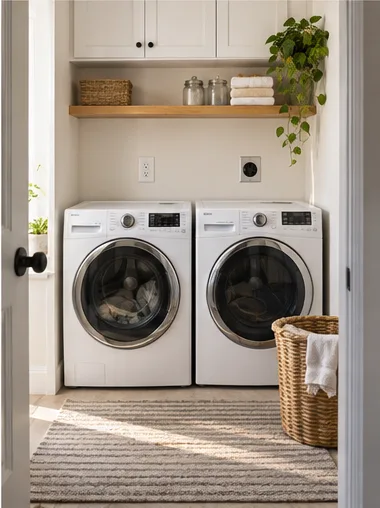
  5. The finished laundry closet: washer and dryer reconnected on new outlets, a basket of laundry on the floor.

    Lakewood · Sunnyvale

    Dedicated laundry circuits

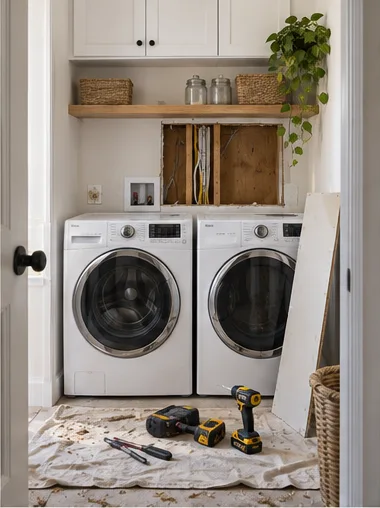
    Washer and dryer had shared one 15 A outlet since the seventies. We opened a strip of wall above the machines, ran a 20 A GFCI circuit for the washer and a 30 A circuit for the dryer, patched, and had the machines back on the same afternoon.

    On site
    1 day
    New circuits
    20 A + 30 A
    Wall opened
    one strip, patched

    Same wall, eight stages

    1. Stage 1: a laundry closet with a washer and dryer on one shared outlet.01One shared outlet
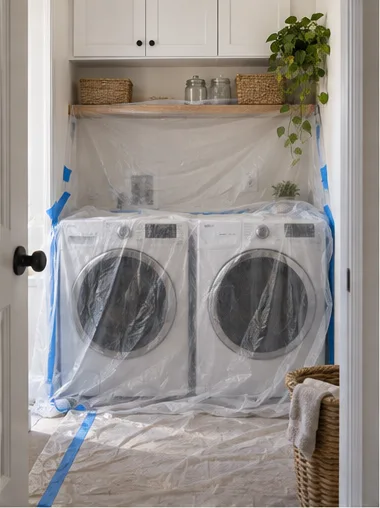
    2. Stage 2: the washer and dryer wrapped in plastic sheeting.02Machines covered
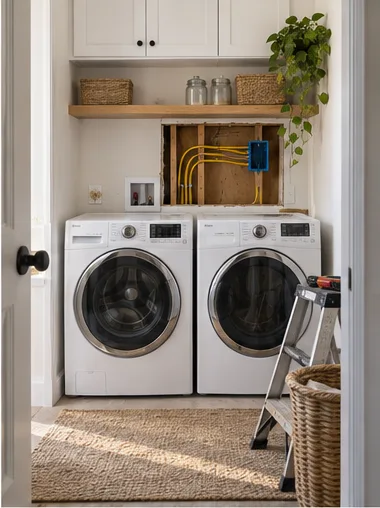
    3. Stage 3: a section of wall above the machines opened to the studs.03Wall opened
    4. Stage 4: new cable runs through the open wall to a new box.04New circuit run
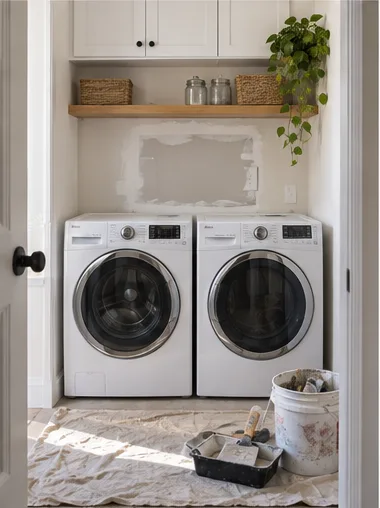
    5. Stage 5: the wall patched and ready for paint.05Patched
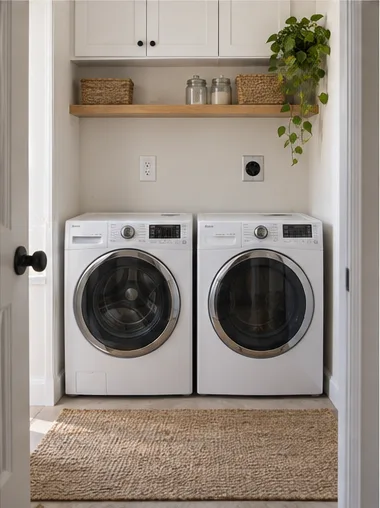
    6. Stage 6: a new dedicated outlet and a new 30 A dryer receptacle in the wall.06Outlets set
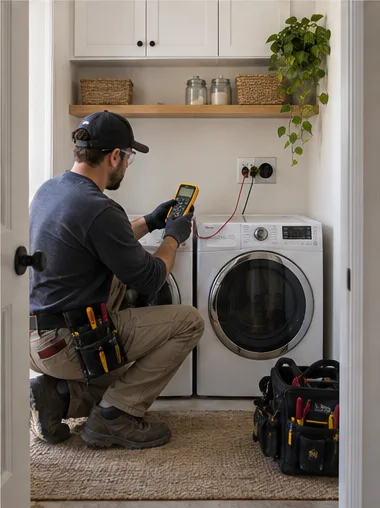
    7. Stage 7: the electrician tests the new outlet with a meter.07Tested
    8. Stage 8: the finished laundry closet, machines reconnected, basket of laundry on the floor.08Back in service

Your house next

Book a site visit.

We price after we've seen the panel, never from a form. Send a few lines or call (408) 555-0147.

Call (408) 555-0147

Claim this website for $0.

We build it free. Plans from $39/month after launch, cancel anytime.

Sent to ObraUp. No payment is taken.